Click here for a list of our Beyond Divinity Elite Hardcore Strategy Guide posts.
We recommend you buy Beyond Divinity from Good Old Games (GOG) as you can get more prompt support. Also, it is an older game, and GOG offers a risk-free money-back guarantee.
Act 4
Character Development
Our characters were level 29 and Samuel was level 38. Hard to hit, but we defeated him instead of simply luring him out of the summoning circle. XP is the same either way, so don't bother -- Luring him out of the summoning circle of candles also instantly kills him and you are awarded the same XP for killing him and for the quest/event.
Below are pictures of our stats before engaging Samuel, and a shot of Samuel almost defeated. We had one character (the Deathknight) constantly healing and both characters attacking in melee--no potions, fancy tactics, or spells were used.

.
Experience Level - Consequences (Guide page 239)
Experience Level - Concentration (Guide page 237)
We recommend you buy Beyond Divinity from Good Old Games (GOG) as you can get more prompt support. Also, it is an older game, and GOG offers a risk-free money-back guarantee.
Act 4
Character Development
- We brought our Agility to base 100 and then banked stat points to see how far we could get with the characters as fights had become very easy--If the Hero and the Deathknight double-teamed enemies, most fell after a total of 2-3 hits.
- Levelling slows down a lot, so enemy level ranges and difficulty also plateaus. The endgame bosses are really hard to hit with weapons, so a very high Agility is still needed. Skip to the end to see how we did with the final boss. If you are worried, hoard potions -- maybe 100+ of Heath and Mana, and whatever Restoration you can get.
Crystals
Summoning Level - Third Summoning Test (Guide page 228)
Even if you do not optimally abuse Pickpocketing, it is likely you have in excess of 1,000,000 gold in addition to other items you can trade. Start buying Extra Large Crystals or you won't have a good set by the end of the main game.
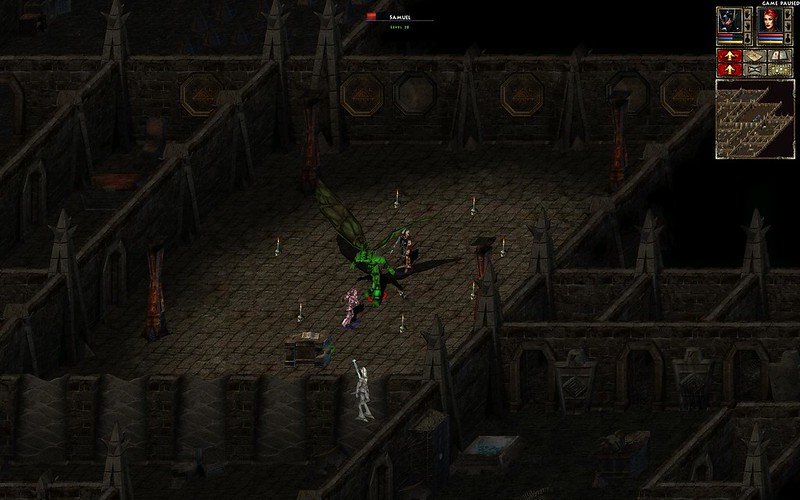
Our characters were level 29 and Samuel was level 38. Hard to hit, but we defeated him instead of simply luring him out of the summoning circle. XP is the same either way, so don't bother -- Luring him out of the summoning circle of candles also instantly kills him and you are awarded the same XP for killing him and for the quest/event.
Below are pictures of our stats before engaging Samuel, and a shot of Samuel almost defeated. We had one character (the Deathknight) constantly healing and both characters attacking in melee--no potions, fancy tactics, or spells were used.
.
Experience Level - Trader and the Amulet (Guide page 233)
Prior to returning the amulet to the Trader, save your game. Make a separate savegame afterwards, then reload your game when NOT in the Battlefields to see if the game crashes trying to load the savegame. If it does, you may have to skip completing this quest as it will affect all savegames afterwards, except possibly when you are loading a game in the Battlefields.
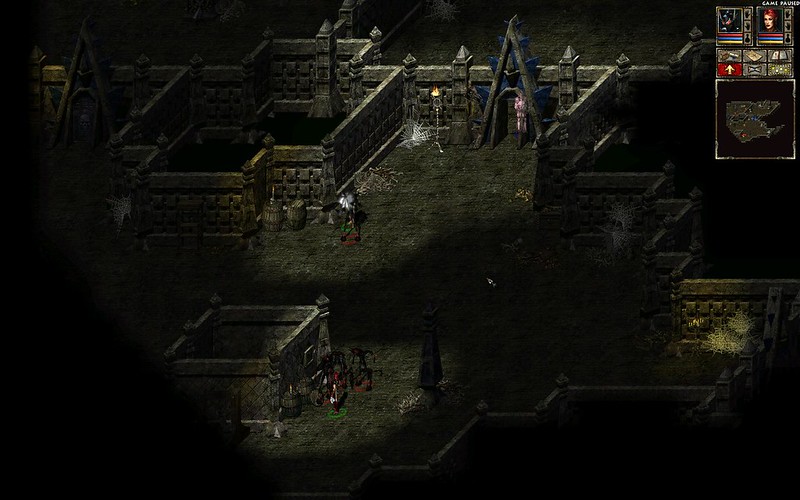
A lot of enemies who can suddenly swarm you. Having a strong area effect magic spell like Hammer is very useful here.
Also, before starting the test, the gates around the starting chamber are locked, so don't start the test first. Instead, go to the edges of the room and drop area effect spells into the fog of war to kill what you can first.
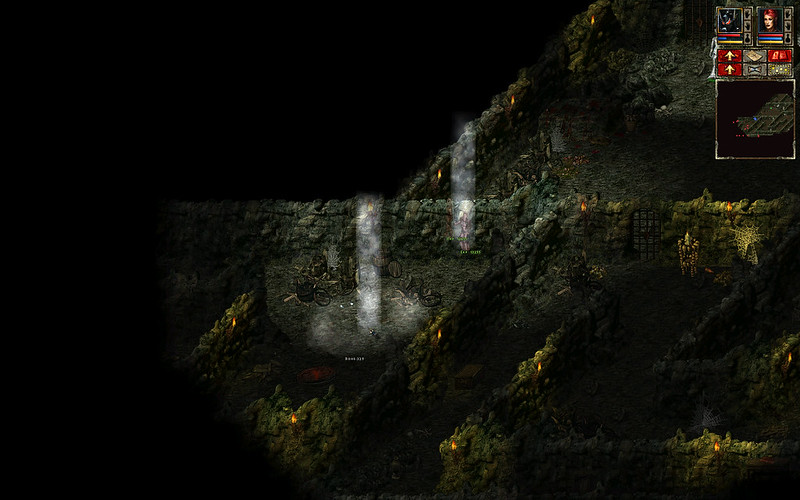
There is actually no time constraint as Samuel's progress is scripted to coincide with that of the Hero and Deathknight. Also, he does not go for the Rift but instead hangs around indefinitely to try to kill the heroes.
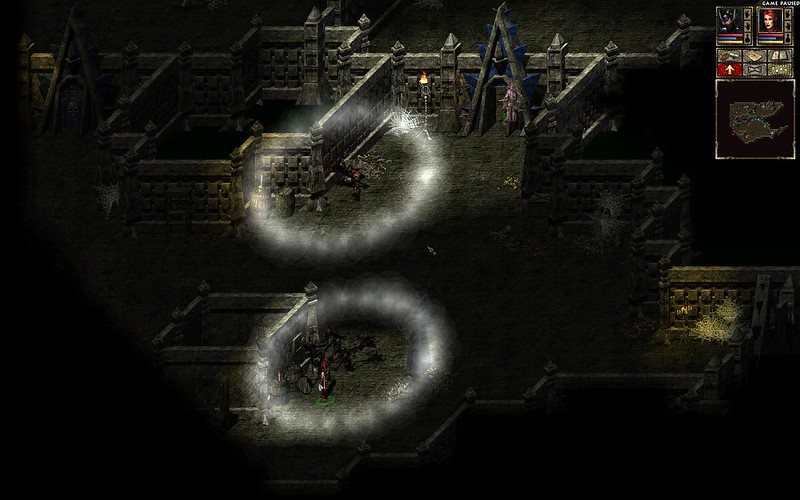
As before, watch for enemy clumps on your radar/mini-map and drop area effect spells on them. Such as at door (map location 21), before opening the door.
As before, watch for enemy clumps on your radar/mini-map and drop area effect spells on them. Such as at door (map location 21), before opening the door.
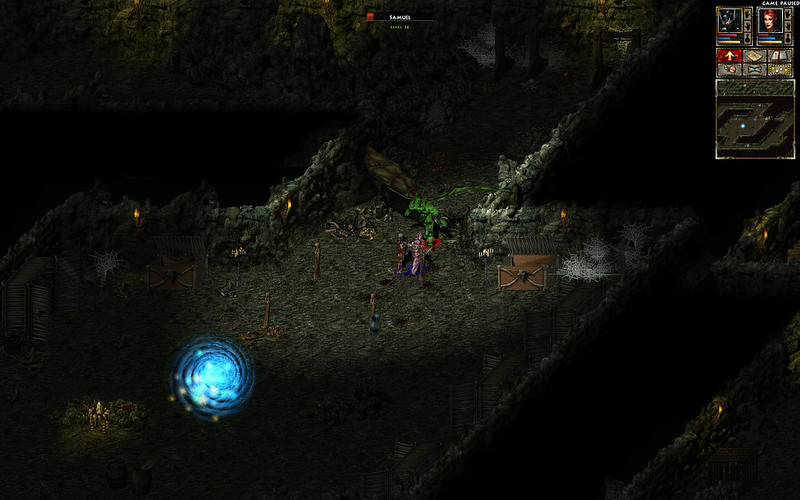
If you don't want to kill Samuel (and he is much harder here, constantly casting spells) you can lead him away and Sneak behind him to get at the containers in the corridor he blocks, if there is anything in them. If you want to take him on, accuracy will be important or you won't be able to land enough hits on him. Same tactics as before: Melee and occasionally heal; no potions or offensive spells, although Hammer will stun him. Because the chance of hitting is very low, don't waste your arrows. Run away from Insect Swarm and Earthquake spells.
In the pre- and post- battle screenshots below you can see that we ended up with NO XP for killing him, so don't bother. However, shortly after you will have to fight Samuel for keeps, so you might as well test your strategies and builds now in case you need to buff in the Battlefields prior to the endgame.
.
.
Damian (Guide page 248)
Prior to going through the rift to Rivellon, strip the Death Knight of gear. This will NOT help you against Damian, so it is not an exploit -- the Death Knight is rendered invisible and Damian's model takes his place. The Death Knight is still there and you will see gear dropped on the field if you are killed by Damian. What getting your gear from the Death Knight does is let you keep it after the main game because you enter the post-main-game Battlefields WITHOUT the Death Knight.
When you first encounter Damian, run. He hits hard in melee and your ability to hit him is probably lousy. When he first pauses to swing, use that to get distance. Use Hammer to stun him, then run some more and Sneak. 2 levels of Sneaks is OK, but 3 levels is the minimum to comfortably and easily get out of his detection range, even without leaving Sneaking mode. Move until he is in the fog of war, then get set up.
Get your cache out (from your Summoning Doll) and gear up, then cache again and unsummon your doll. Do NOT leave anything behind.
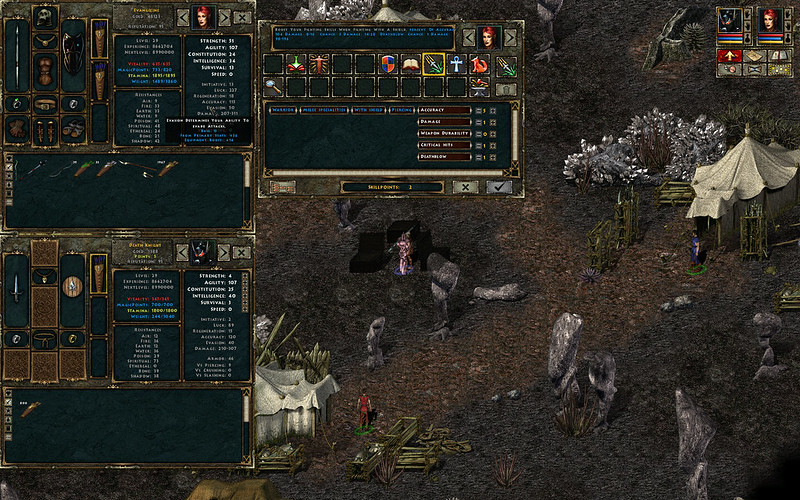
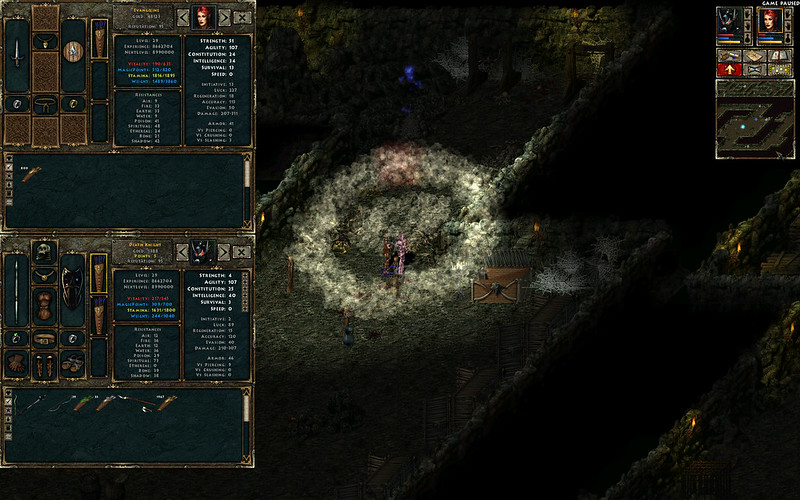
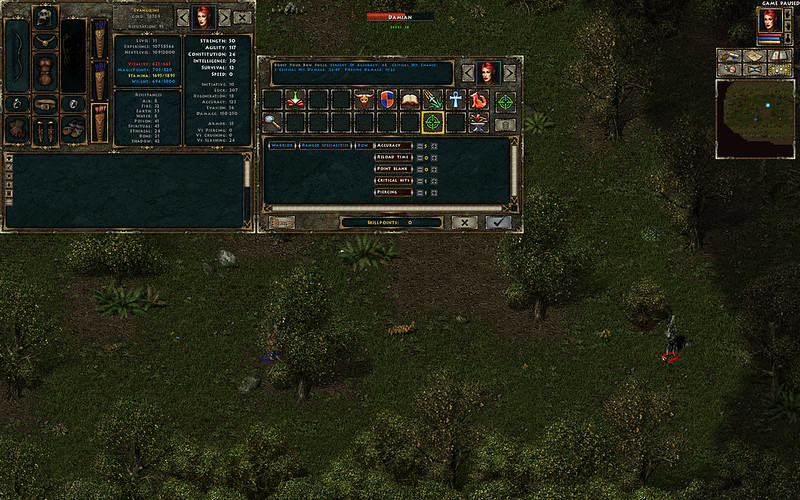
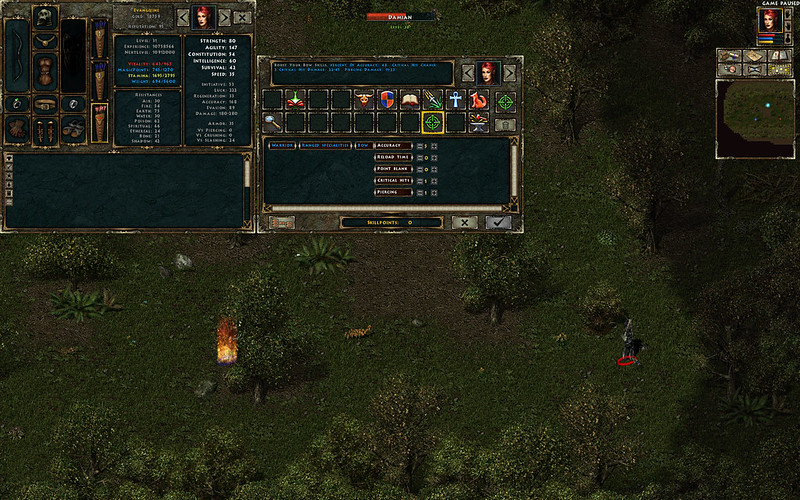
For Damian, if you have followed our Character Build, you will have 100+ Agility. Max this. We had base 110 and [Warrior > Ranged Specialties > Bow > Accuracy 5] and still had a very hard time hitting him. We added +30 with just 1 level of [Warrior > Warrior Talents > Berserk] and had pretty much a 100% hit rate. To short cut things, we pulled out the Power Arrows we'd been hoarding.
Berserk has a cooldown time during which your stats are severely reduced and you probably can't Run because you are suddenly encumbered from lowered Strength. So during that time you need to stay in hiding and reposition to start up another arrow volley.
We killed Damian with two casts of Berserk but if your bow is weak and/or you want to save your special arrows (for what? -- this is the endgame), it'll take longer but you shouldn't need any potions.
The pictures below show before-Berserk and after-Berserk stats of our Hero during the fight against Damian. Without any Battlefield kills we were level 31 going into the endgame, and Damian was level 38, same as Samuel.
.
When you first encounter Damian, run. He hits hard in melee and your ability to hit him is probably lousy. When he first pauses to swing, use that to get distance. Use Hammer to stun him, then run some more and Sneak. 2 levels of Sneaks is OK, but 3 levels is the minimum to comfortably and easily get out of his detection range, even without leaving Sneaking mode. Move until he is in the fog of war, then get set up.
Get your cache out (from your Summoning Doll) and gear up, then cache again and unsummon your doll. Do NOT leave anything behind.
For Damian, if you have followed our Character Build, you will have 100+ Agility. Max this. We had base 110 and [Warrior > Ranged Specialties > Bow > Accuracy 5] and still had a very hard time hitting him. We added +30 with just 1 level of [Warrior > Warrior Talents > Berserk] and had pretty much a 100% hit rate. To short cut things, we pulled out the Power Arrows we'd been hoarding.
Berserk has a cooldown time during which your stats are severely reduced and you probably can't Run because you are suddenly encumbered from lowered Strength. So during that time you need to stay in hiding and reposition to start up another arrow volley.
We killed Damian with two casts of Berserk but if your bow is weak and/or you want to save your special arrows (for what? -- this is the endgame), it'll take longer but you shouldn't need any potions.
The pictures below show before-Berserk and after-Berserk stats of our Hero during the fight against Damian. Without any Battlefield kills we were level 31 going into the endgame, and Damian was level 38, same as Samuel.
.
Click here for a list of our Beyond Divinity Elite Hardcore Strategy Guide posts.
We recommend you buy Beyond Divinity from Good Old Games (GOG) as you can get more prompt support. Also, it is an older game, and GOG offers a risk-free money-back guarantee.
Act 4
Character Development
Our characters were level 29 and Samuel was level 38. Hard to hit, but we defeated him instead of simply luring him out of the summoning circle. XP is the same either way, so don't bother -- Luring him out of the summoning circle of candles also instantly kills him and you are awarded the same XP for killing him and for the quest/event.
Below are pictures of our stats before engaging Samuel, and a shot of Samuel almost defeated. We had one character (the Deathknight) constantly healing and both characters attacking in melee--no potions, fancy tactics, or spells were used.
.
Experience Level - Consequences (Guide page 239)
Experience Level - Concentration (Guide page 237)
reade more...
We recommend you buy Beyond Divinity from Good Old Games (GOG) as you can get more prompt support. Also, it is an older game, and GOG offers a risk-free money-back guarantee.
Act 4
Character Development
- We brought our Agility to base 100 and then banked stat points to see how far we could get with the characters as fights had become very easy--If the Hero and the Deathknight double-teamed enemies, most fell after a total of 2-3 hits.
- Levelling slows down a lot, so enemy level ranges and difficulty also plateaus. The endgame bosses are really hard to hit with weapons, so a very high Agility is still needed. Skip to the end to see how we did with the final boss. If you are worried, hoard potions -- maybe 100+ of Heath and Mana, and whatever Restoration you can get.
Crystals
Summoning Level - Third Summoning Test (Guide page 228)
Even if you do not optimally abuse Pickpocketing, it is likely you have in excess of 1,000,000 gold in addition to other items you can trade. Start buying Extra Large Crystals or you won't have a good set by the end of the main game.
Our characters were level 29 and Samuel was level 38. Hard to hit, but we defeated him instead of simply luring him out of the summoning circle. XP is the same either way, so don't bother -- Luring him out of the summoning circle of candles also instantly kills him and you are awarded the same XP for killing him and for the quest/event.
Below are pictures of our stats before engaging Samuel, and a shot of Samuel almost defeated. We had one character (the Deathknight) constantly healing and both characters attacking in melee--no potions, fancy tactics, or spells were used.
.
Experience Level - Trader and the Amulet (Guide page 233)
Prior to returning the amulet to the Trader, save your game. Make a separate savegame afterwards, then reload your game when NOT in the Battlefields to see if the game crashes trying to load the savegame. If it does, you may have to skip completing this quest as it will affect all savegames afterwards, except possibly when you are loading a game in the Battlefields.
A lot of enemies who can suddenly swarm you. Having a strong area effect magic spell like Hammer is very useful here.
Also, before starting the test, the gates around the starting chamber are locked, so don't start the test first. Instead, go to the edges of the room and drop area effect spells into the fog of war to kill what you can first.
There is actually no time constraint as Samuel's progress is scripted to coincide with that of the Hero and Deathknight. Also, he does not go for the Rift but instead hangs around indefinitely to try to kill the heroes.
As before, watch for enemy clumps on your radar/mini-map and drop area effect spells on them. Such as at door (map location 21), before opening the door.
As before, watch for enemy clumps on your radar/mini-map and drop area effect spells on them. Such as at door (map location 21), before opening the door.
If you don't want to kill Samuel (and he is much harder here, constantly casting spells) you can lead him away and Sneak behind him to get at the containers in the corridor he blocks, if there is anything in them. If you want to take him on, accuracy will be important or you won't be able to land enough hits on him. Same tactics as before: Melee and occasionally heal; no potions or offensive spells, although Hammer will stun him. Because the chance of hitting is very low, don't waste your arrows. Run away from Insect Swarm and Earthquake spells.
In the pre- and post- battle screenshots below you can see that we ended up with NO XP for killing him, so don't bother. However, shortly after you will have to fight Samuel for keeps, so you might as well test your strategies and builds now in case you need to buff in the Battlefields prior to the endgame.
.
.
Damian (Guide page 248)
Prior to going through the rift to Rivellon, strip the Death Knight of gear. This will NOT help you against Damian, so it is not an exploit -- the Death Knight is rendered invisible and Damian's model takes his place. The Death Knight is still there and you will see gear dropped on the field if you are killed by Damian. What getting your gear from the Death Knight does is let you keep it after the main game because you enter the post-main-game Battlefields WITHOUT the Death Knight.
When you first encounter Damian, run. He hits hard in melee and your ability to hit him is probably lousy. When he first pauses to swing, use that to get distance. Use Hammer to stun him, then run some more and Sneak. 2 levels of Sneaks is OK, but 3 levels is the minimum to comfortably and easily get out of his detection range, even without leaving Sneaking mode. Move until he is in the fog of war, then get set up.
Get your cache out (from your Summoning Doll) and gear up, then cache again and unsummon your doll. Do NOT leave anything behind.
For Damian, if you have followed our Character Build, you will have 100+ Agility. Max this. We had base 110 and [Warrior > Ranged Specialties > Bow > Accuracy 5] and still had a very hard time hitting him. We added +30 with just 1 level of [Warrior > Warrior Talents > Berserk] and had pretty much a 100% hit rate. To short cut things, we pulled out the Power Arrows we'd been hoarding.
Berserk has a cooldown time during which your stats are severely reduced and you probably can't Run because you are suddenly encumbered from lowered Strength. So during that time you need to stay in hiding and reposition to start up another arrow volley.
We killed Damian with two casts of Berserk but if your bow is weak and/or you want to save your special arrows (for what? -- this is the endgame), it'll take longer but you shouldn't need any potions.
The pictures below show before-Berserk and after-Berserk stats of our Hero during the fight against Damian. Without any Battlefield kills we were level 31 going into the endgame, and Damian was level 38, same as Samuel.
.